
Firstly, your site must have this module setup. If this was not part of the offering during the design and development phase you will not have access to this pre-designed pop-up modal. to check if you have access go to www.yoursite.com/popup_test_page/ If the page exist for your site then you can follow this tutorial for creating custom pop-ups. Else, contact our support team and we can provide a quote for development.
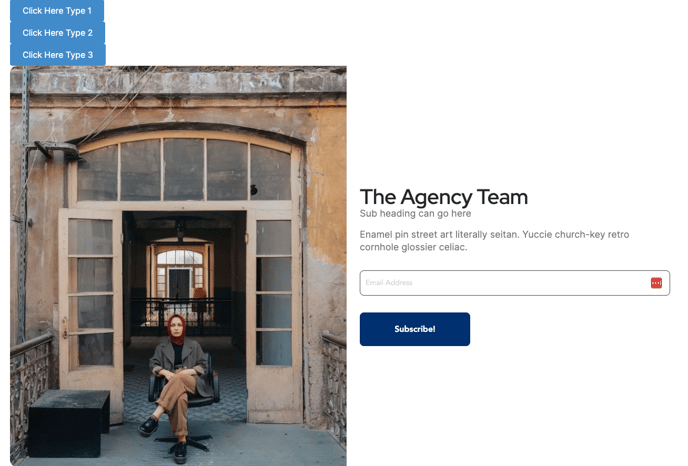
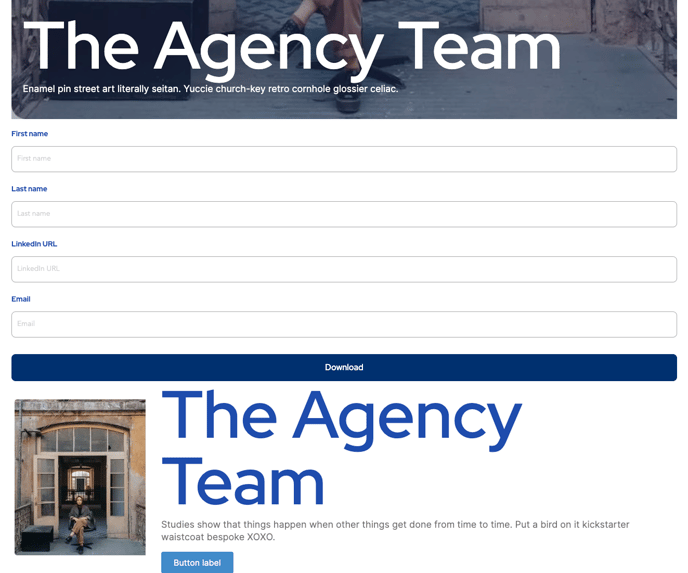
There are 3 pre-designed modal pop-ups Type 1, Type 2 and Type 3.
All 3 modals work in the same way. its just a matter of selecting the appropriate saved row when setting up the pop-up modal.
1. navigate to the page you want to add the pop-up modal and open the page in page builder.
2. click the + sign to add a new module, and then search for popup in the search, you should see modal popup as a module on the list.

3. Drag the Modal Popup to the page.
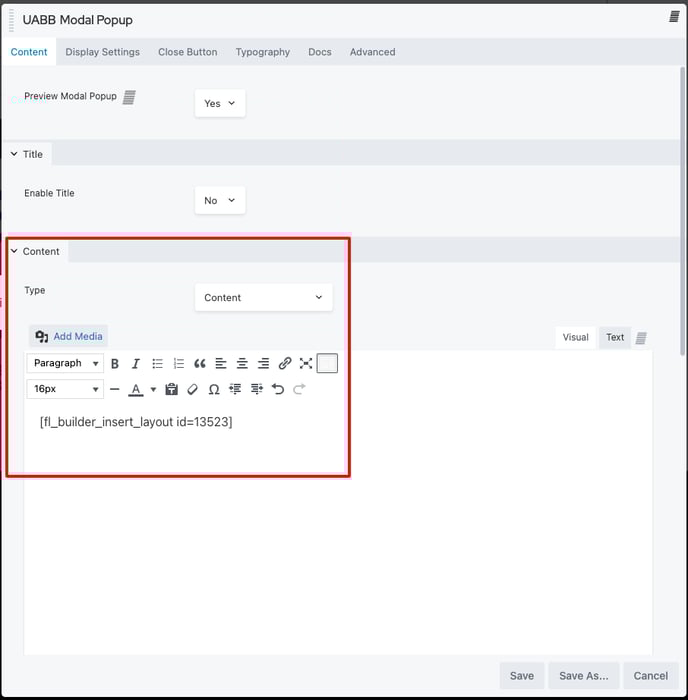
4. You need to add the saved layout to the content.
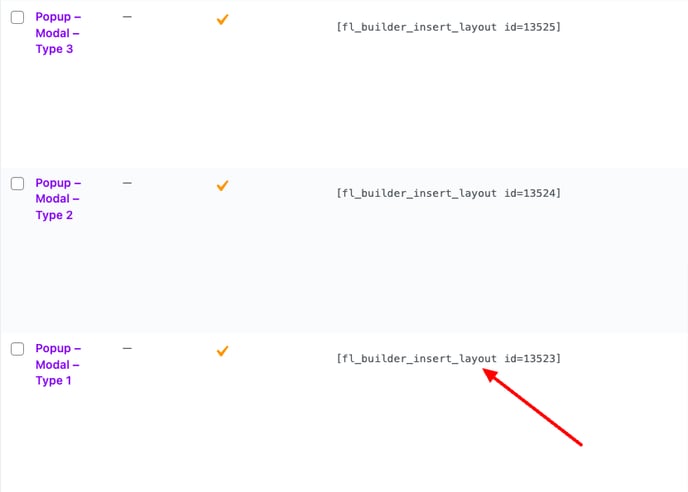
4.1. Open a new window and navigate to your websites backend and select Page Builder > Saved Rows.
4.2. Navigate to the Popup - Modal - Type 1/2/3 and click the shortcode to copy it to your clipboard.
4.3. Paste this value into the Content section.
5. Scroll down to the Modal Popup Settings section, and update the Maximum Width of Contents as required. We recommend 900px
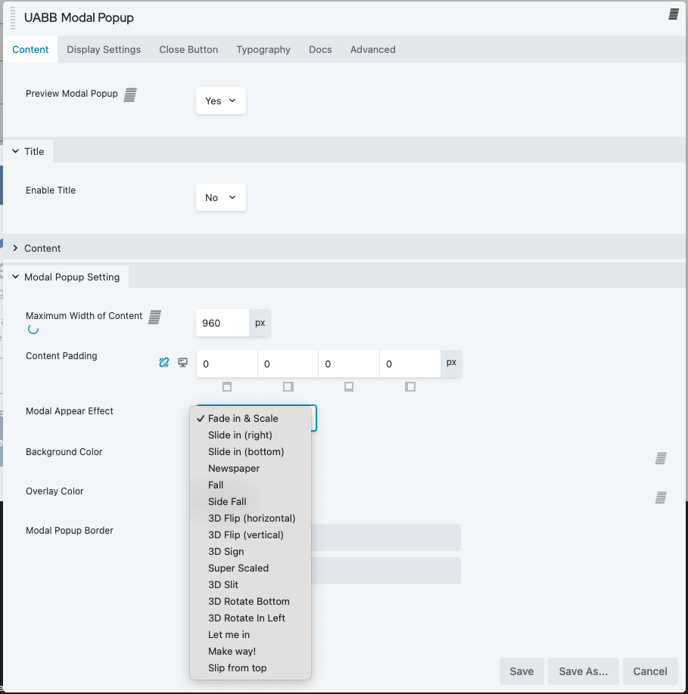
6. Update the Content Padding to 0.
7. Select the Modal Appear Effect as needed.
8. Select the Background Colour and Overlay Colour as needed. Or keep them default
9. Set the Modal Popup Border > Radius & Shadow.

9.1. Match the Radius to the Radius on your image, or leave it blank.
9.2. Add Box Shadow if you want to add a Shadow to the pop-up.
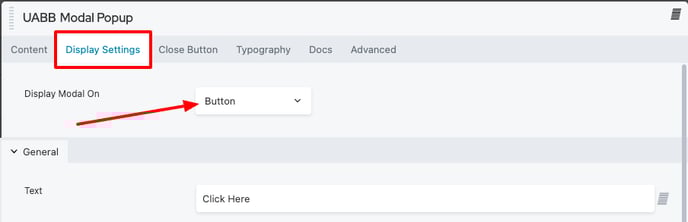
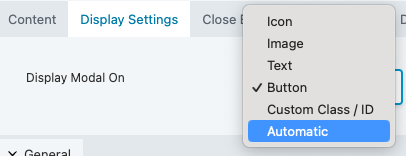
10. Set the Display Modal On style. By default it will show on Button click. but you would likely want to display this a few seconds after a visitor lands on a page. In this case set it to Automatic.
10.1. Set After a few seconds to Yes, and add the amount of seconds to Load After Seconds.

10.2. You can Enable Exit Intent (This will show the pop-up as soon as someone goes to leave the page by moving their mouse to the X or back button on their browser.
10.3. You can also Enable Cookies and set a time in days to remember someone for X days. This will not show the pop-up to this user for X days.
11. Set the Close button settings.
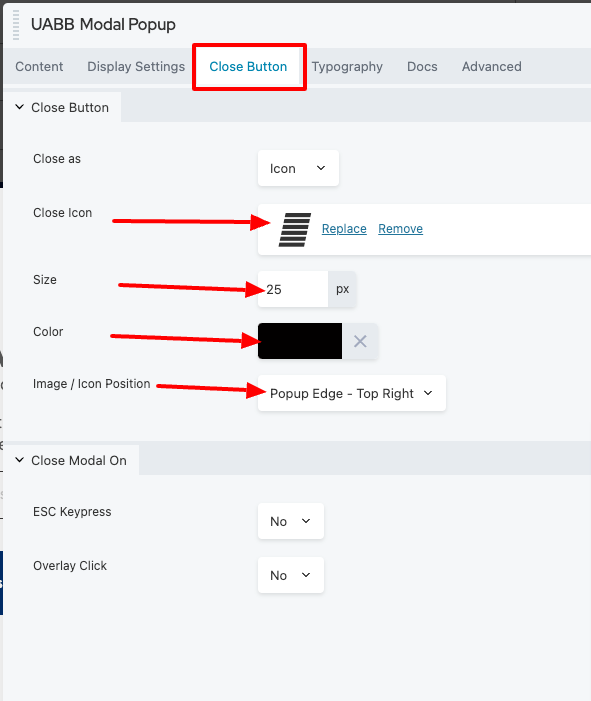
11.1. Set the Icon. If you leave this as the default icon it will display as an X
11.2. Set the icon size.
11.3. Set the colour.
11.4. Set the Icon Position. This is important and needs to be set as POPup Edge - Top Right to work correctly.
12. Click Save to save these settings.
13. Now that the modal is setup, we can edit the saved row and update the contents.
Click the + sign to add a new module, click the saved tab and scroll down till you find the Popup - Modal - Type 1/2/3, then click the spanner to edit the saved module.

You can then edit all the elements of the saved row in a similar way you edit a regular page.
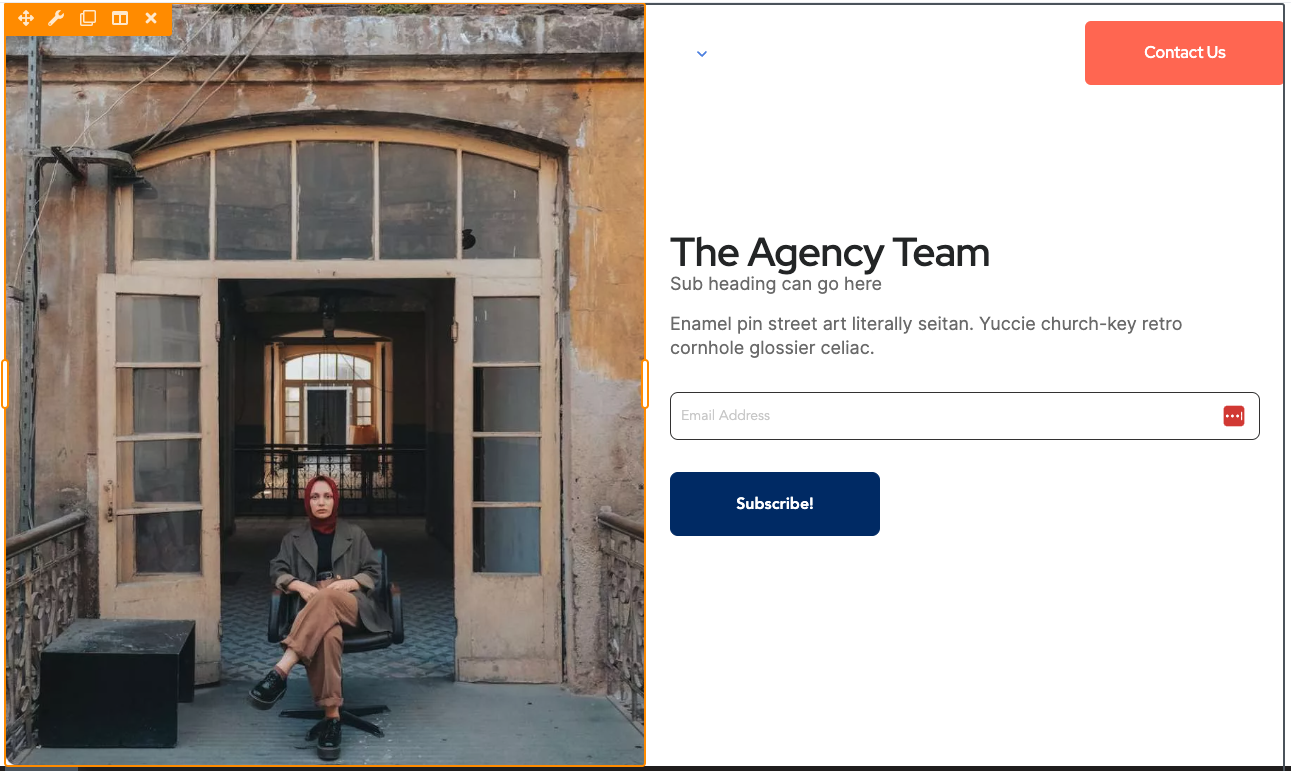
When you press save, this change will be published automatically to your pop-up as it is a global module.