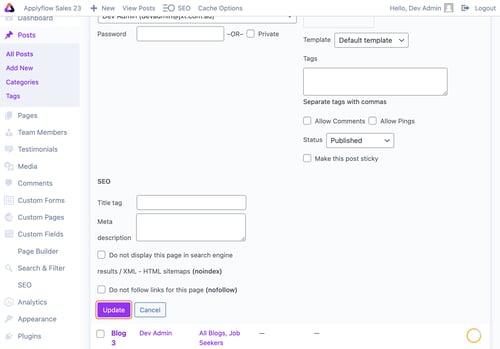
How to Filter Blogs on Pages
This article serves as a guide on how to implement a blog filtering feature on your web pages. It outlines steps to enable users to efficiently navigate through blogs by applying filters based on various criteria such as date, category, or author.
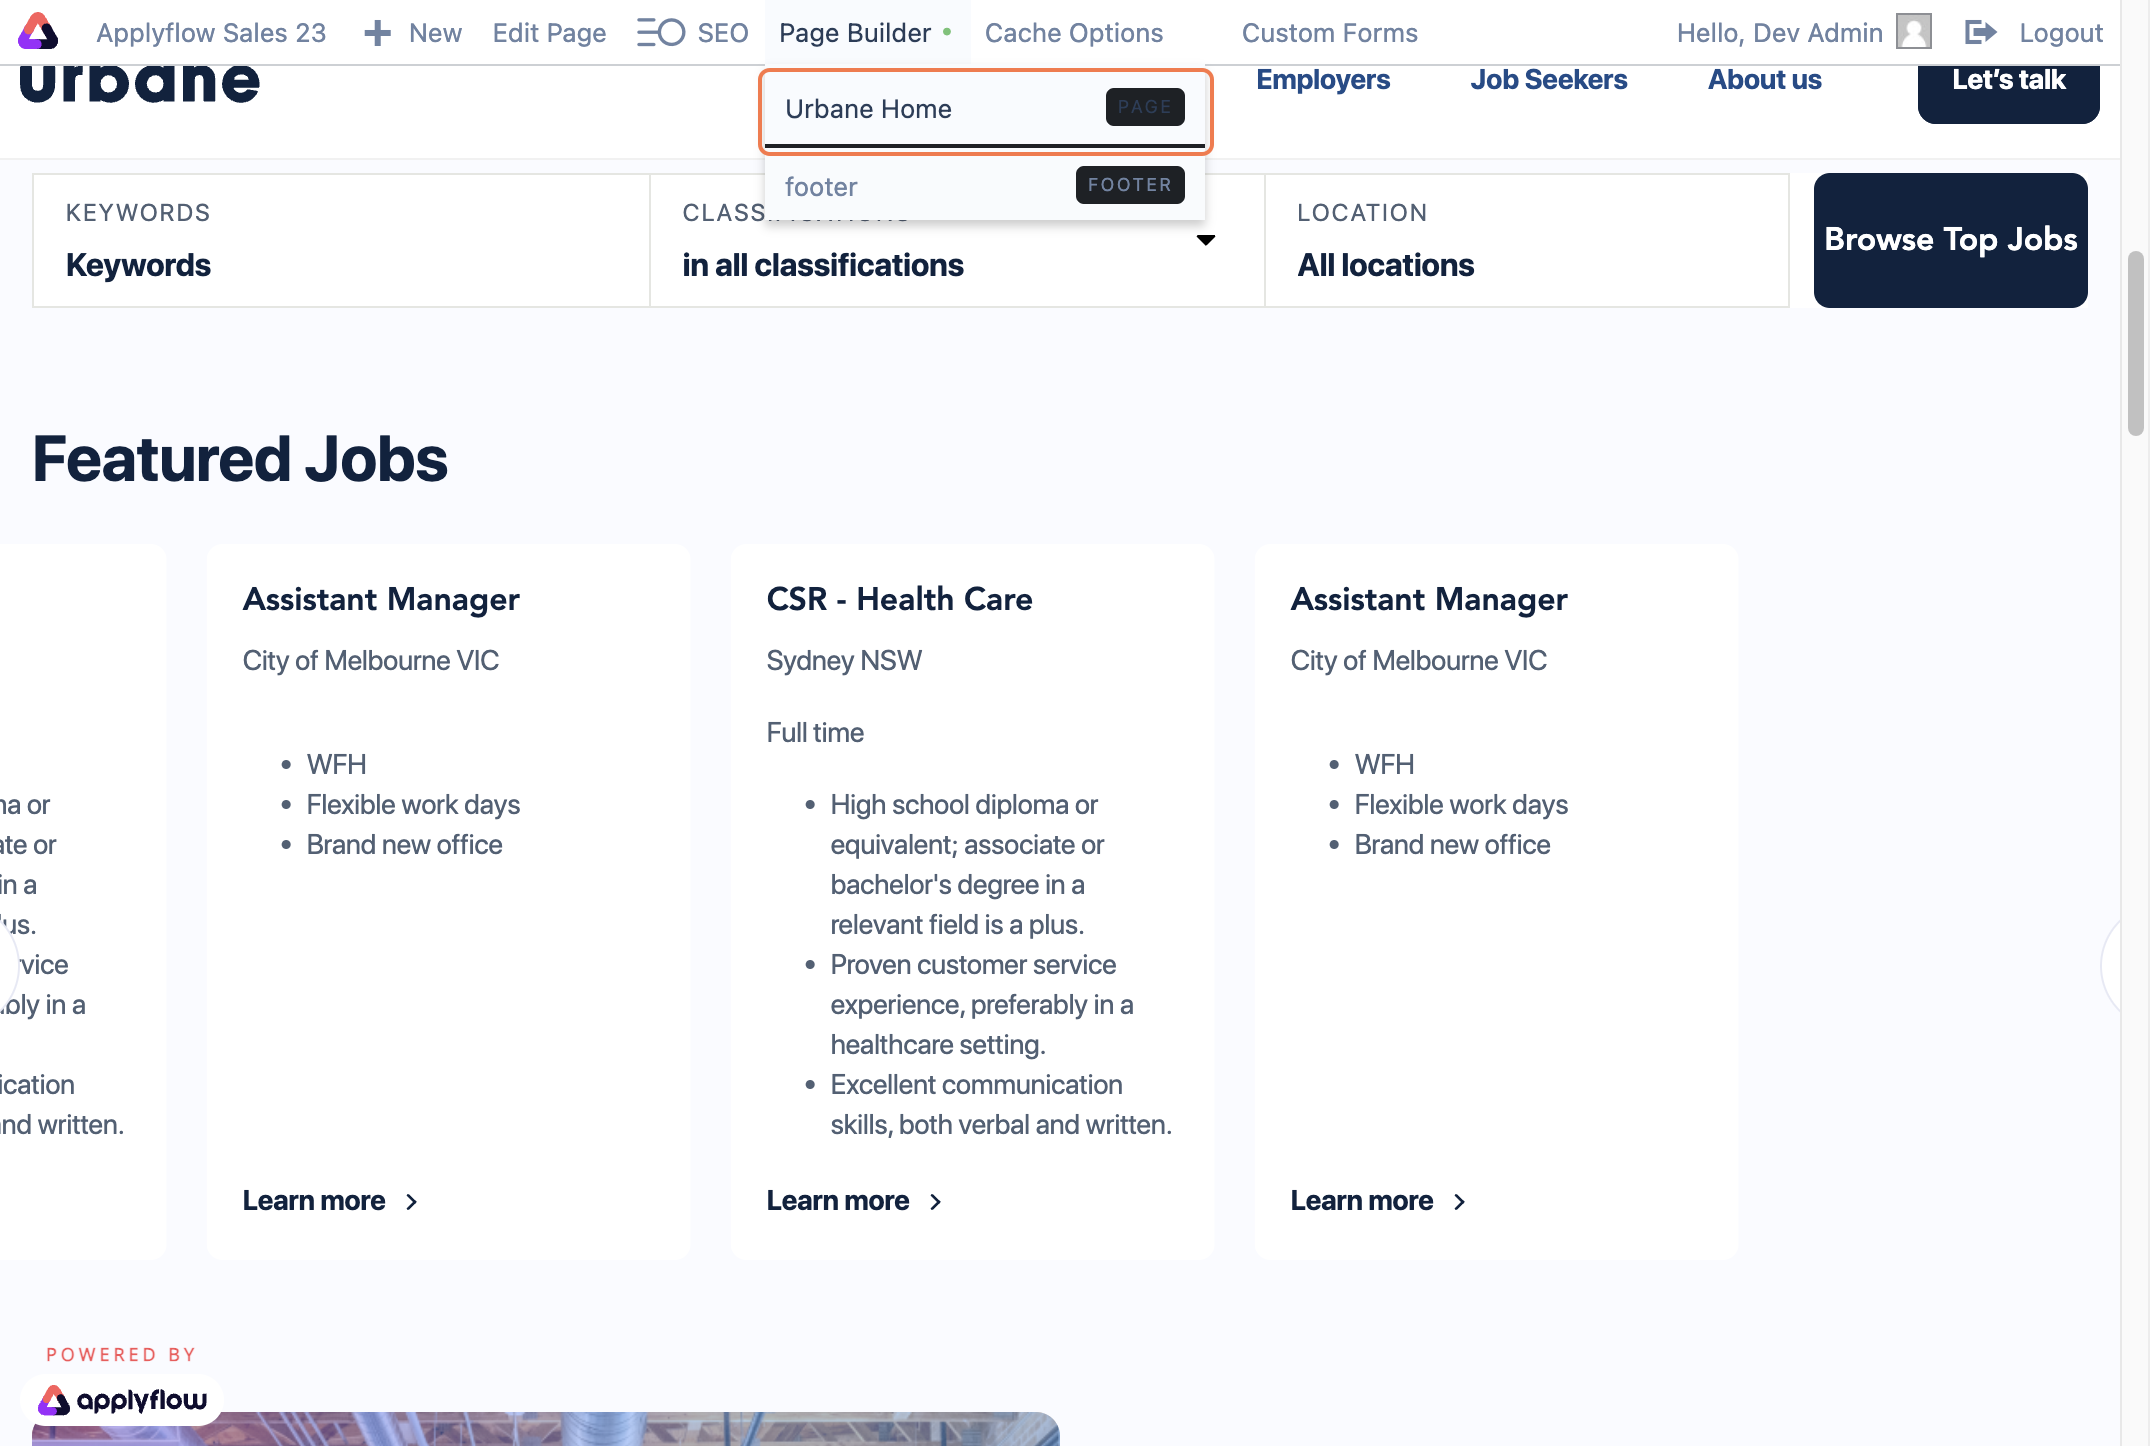
1. Log into your site and click on the 'Page Builder'.
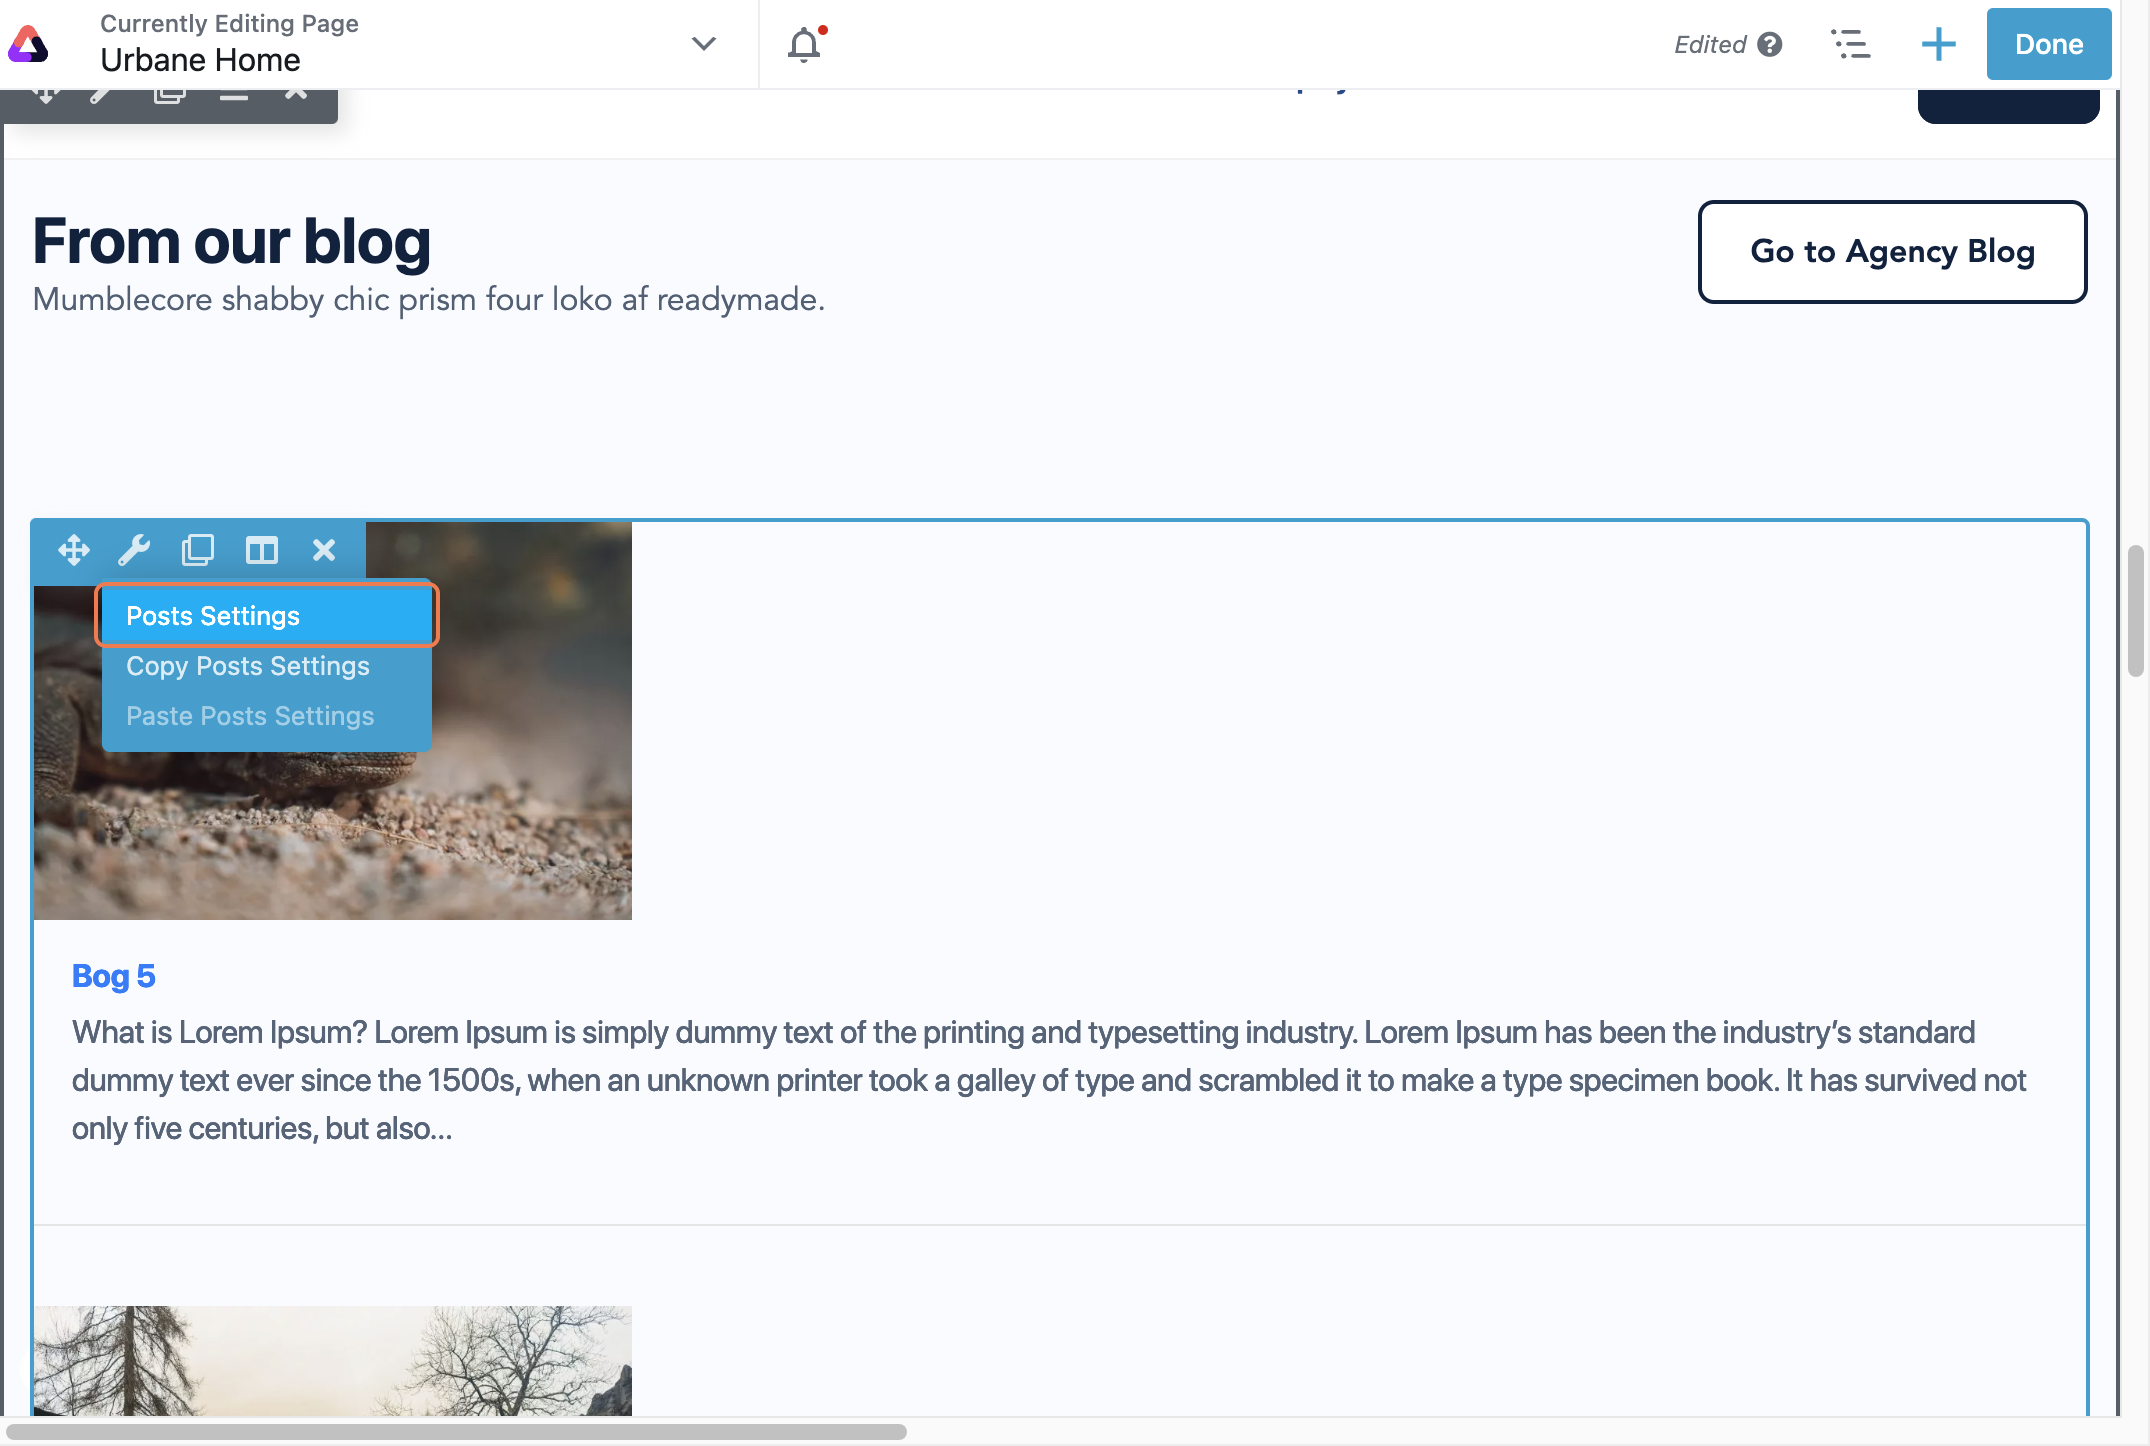
2. Click on ‘Posts Settings’.
3. Click on ‘Content’.

4. Scroll down to ‘Filter’.
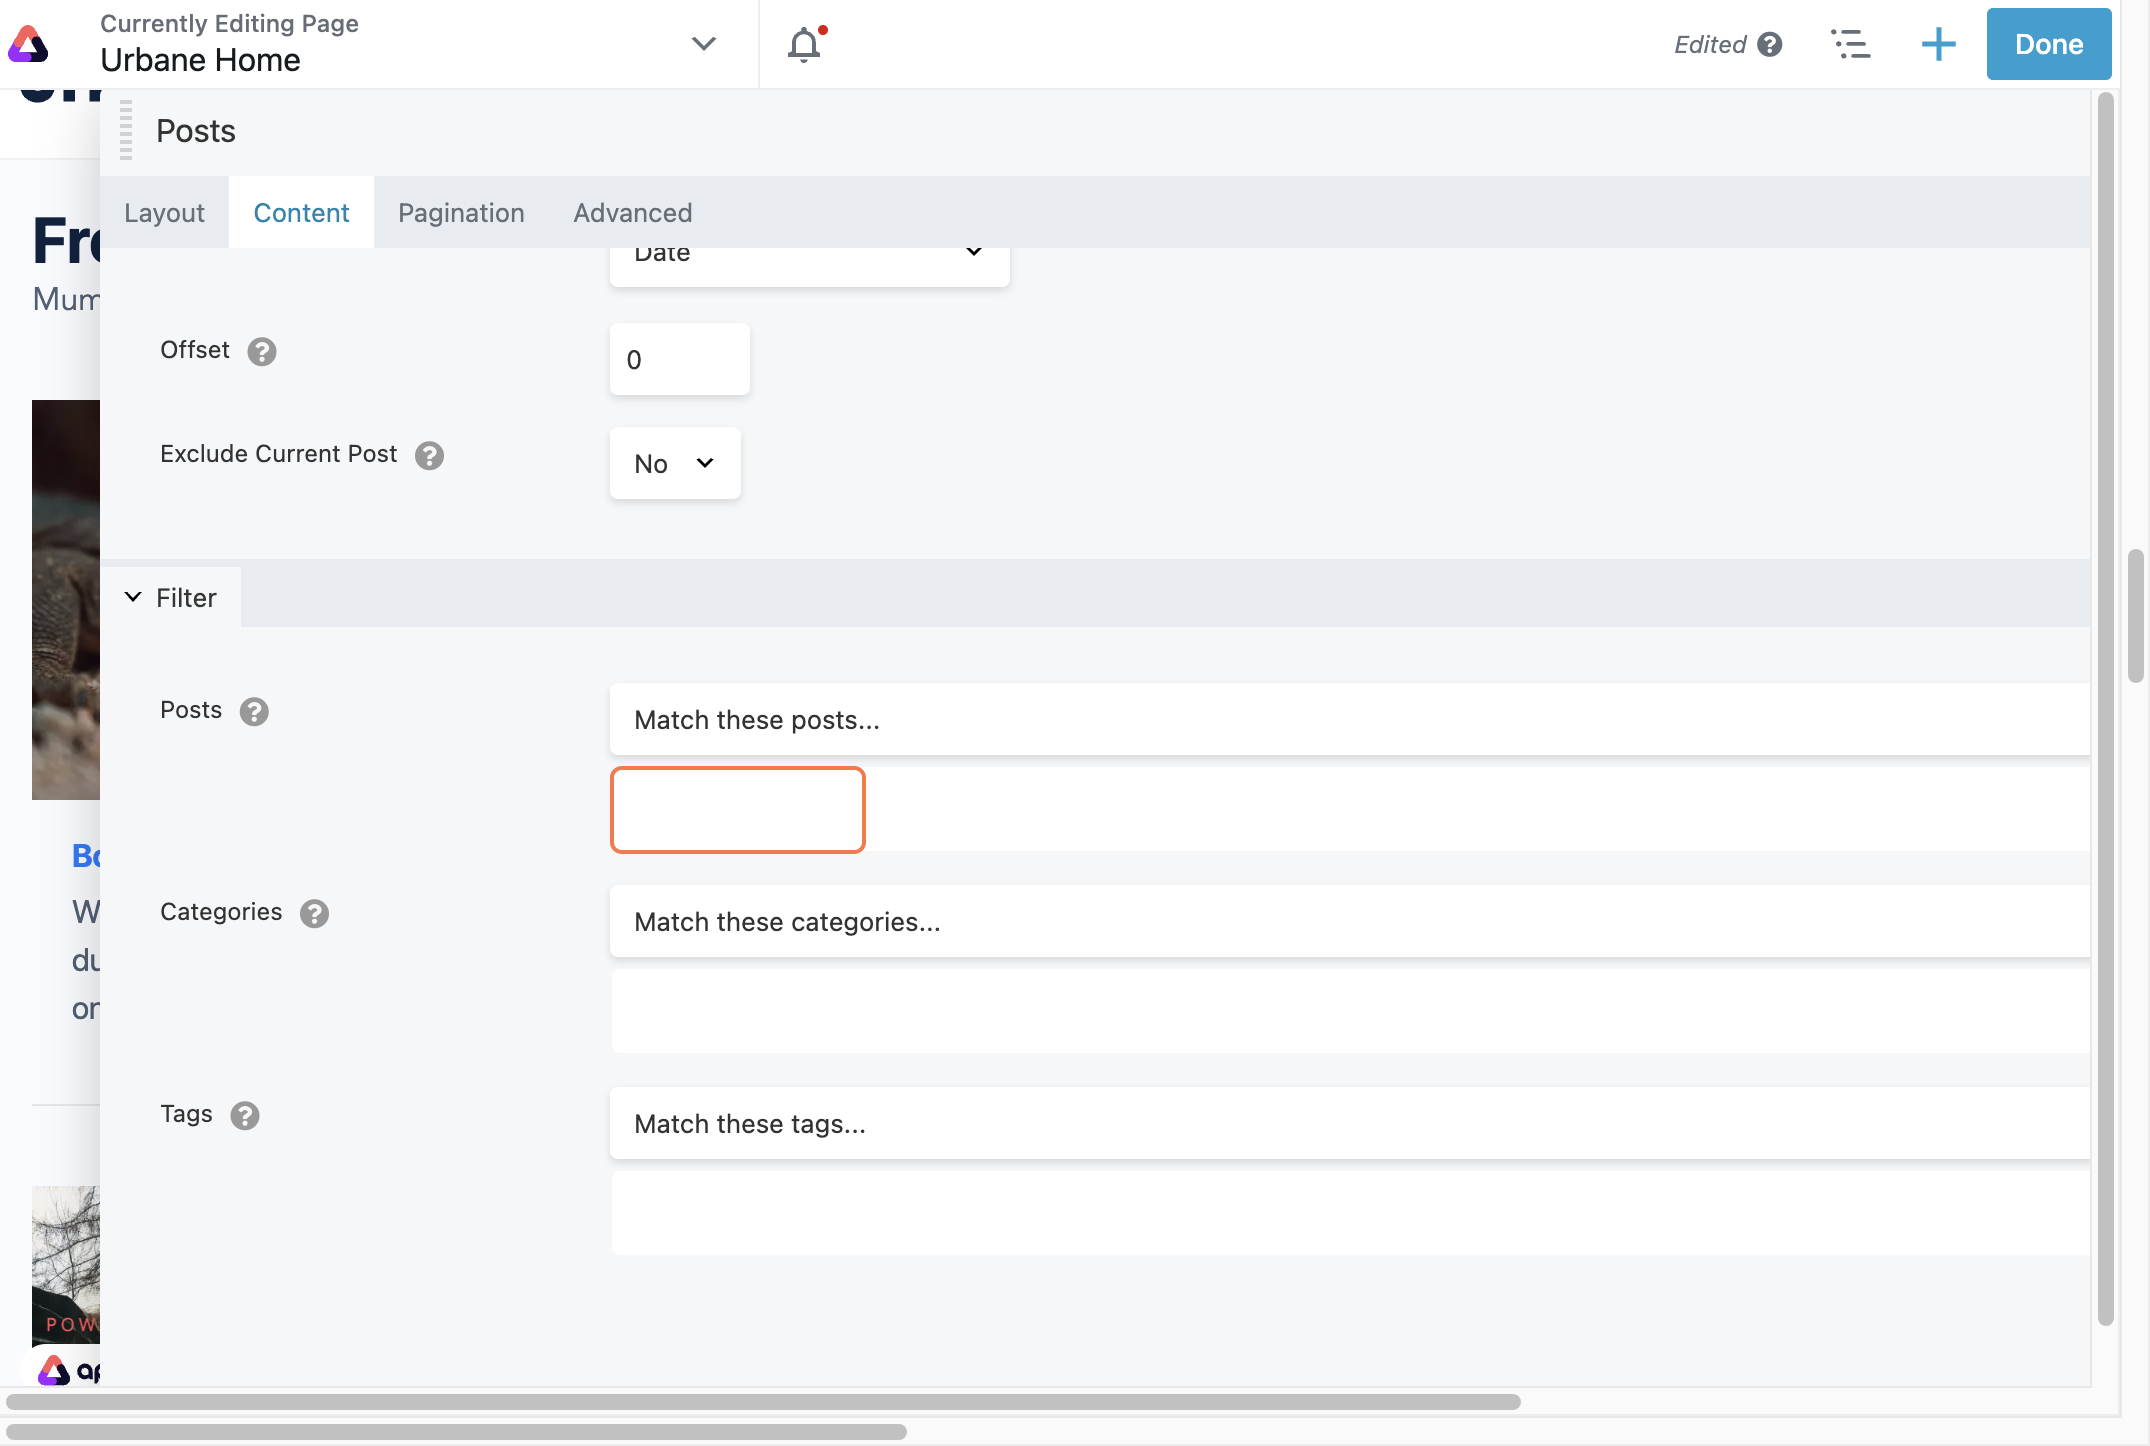
5. Type in the post’s title, category, or tag to filter your blogs.

6. This will be matched from the backend in the CMS.

7. Click ‘Save’ and publish.

The following steps will show you how to tag categories on your blogs.
1. From the main menu, click on ‘Posts’.
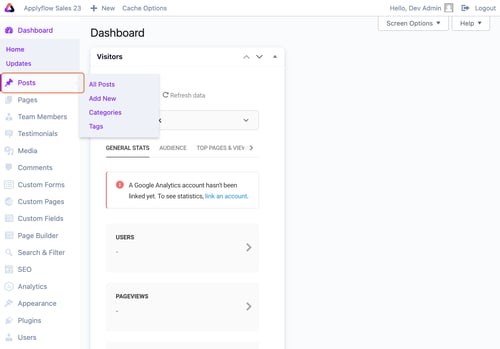
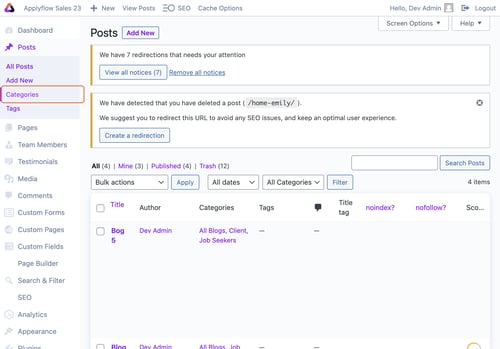
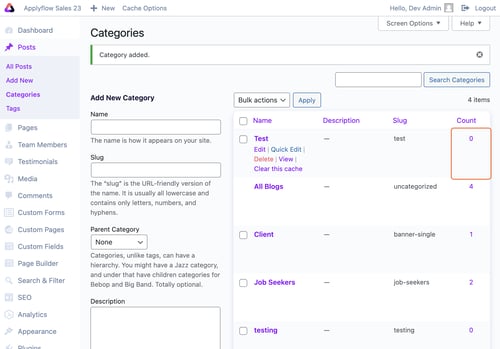
2. Click on ‘Categories’.
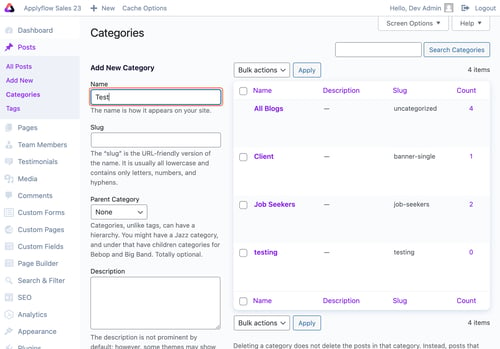
3. In the ‘Name’ field, add your category.
4. Click on ‘Add New Category’.
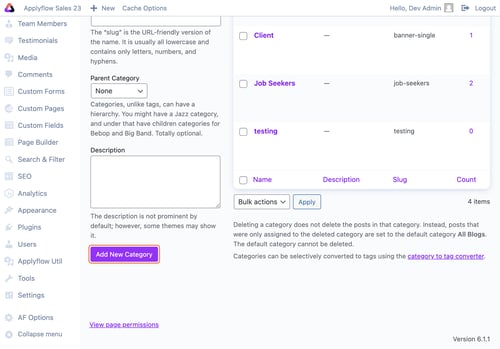
5. You can then see the number of blogs in that category.
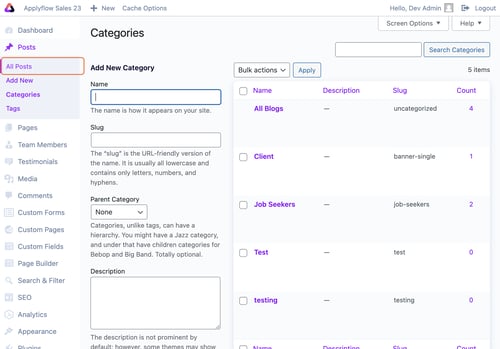
6. Go back to the main menu and click 'All Posts'.
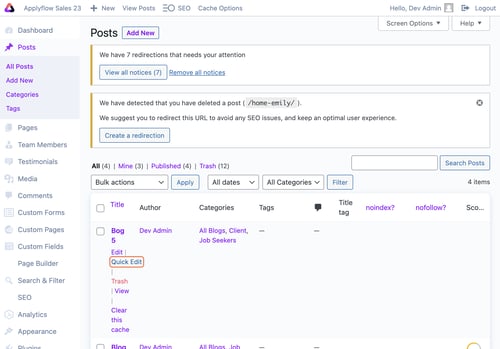
7. To edit the category of a blog, click ‘Quick Edit’.
8. Tick the box of the categories you want it to be categorised under.
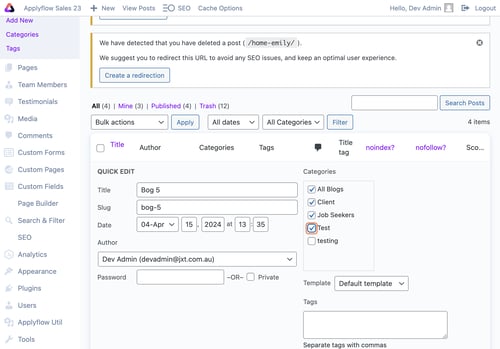
9. Click on ‘Update’.
